- Home
- Wedding Cakes
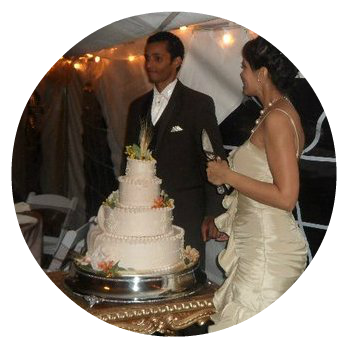
- Pleated Cake With A Fondant Bow
Pleated Cake With A Fondant Bow
by Deanna
(Sydney, NS Canada)


I made this pleated cake with a fondant bow and gumpaste monogram the past weekend for my cousin's wedding.
It is all real cake, 6", 8" 12" and 16". I borrowed a few ideas, and got some help from my Facebook Friends (like you!)!
The bottom two tiers are chocolate cake with strawberry swiss meringue buttercream (I got the recipe from Azucar) and moistened with strawberry simple syrup and the top two tiers are vanilla cake with the same strawberry SMBC and syrup.
I made the fondant roses a few days in advance. I found an excellent tutorial on YouTube by Edna. I made the monogram out of gumpaste and fondant. The white part is gumpaste, I used a metal circle cookie cutter that I squished into an oval. I painted on the letters with Wilton paste food colors with the tiniest amount of vodka in it. Just enough to make it thin enough to paint with.
I left that for a couple of days to dry laid over an 8" cake dummy. When it was dry I rolled out my purple fondant and used the same cookie cutter. I made a bit of an indentation as a guide and then used a cutter with a zigzag edge to make a decorative border.
I then attached it to the back of the gumpaste oval. The fondant bow was also made a couple of days ahead. I learned the bow technique from Lesley, at Royal Bakery. Her work is amazing!! She has a tutorial on her facebook
The pleating is also an idea that I borrowed from Lesley! She was kind enough to send me instructions on how to do it. It's fairly simply. You cover the cake with fondant as usual, then you roll out more fondant, enough to cover the cake again. So if your cake is 8" round and 4" tall you need to roll out a 16" piece. Then you cut it into a circle using your Wilton rolling mat or a cake pan as a guide. Cut it across the diameter, then cut each piece in half again and again (like a pizza) until the pieces are the size you would like.
Then you take your "slice" and soften the side edges a bit so they don't have harsh edges. Wet half of the piece and place it on the cake so the "crust" edge is level on the cake board and the rest travels up the cake.
The next piece overlaps this one by half. Continue around the cake (you will need to cut more fondant slices) until you meet up with yourself and tuck the last slice under the first. There will be bulky pieces of fondant on the top of the cake, just pinch them off. This technique requires you put something on the top of your cake.....another cake, flowers, anything that will hide the pinched fondant!
That's pretty much it! I was really pleased with the end result of my pleated cake with a fondant bow and monogram, and more importantly, so was my cousin!
Comments for Pleated Cake With A Fondant Bow
|
||
|
||
This article was printed from Wedding-Cakes-For-You.com
Step-by-Step Book

Video Guides


Order a Cake
"Lorelie is simply the CAKE FAIRY!!!!! and her heart is as big as her cakes are delicious and gorgeous. People are still talking about our cake almost three years later".
~Maceo & Corina~ New York City
Free Ebook

When you sign up for Cakes with Lorelie Newsletter


