- Home
- Wedding Cakes
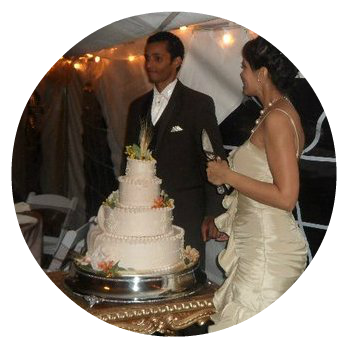
- Ruffles and Peonies
Ruffles and Peonies
by Tanya Nichole Condit
(Anchorage, Alaska)


This Ruffles and Peonies Cake is one of my favorites
I am a self-taught cake artist out of Anchorage, Alaska and have been making cakes for a living out of my home for three years.
It all started with a book from hobby lobby. I was amazed by the works of art that were created with all edible items. With lots of time, internet searches and patience, I slowly learned the basic cake decorating techniques.
Never Stop Learning
Although my cakes are much better than they were when I initially started, there is still so much to learn and room to improve. I hope to someday own my own bakery and continue doing what I love!
The Ruffles and Peonies design was for the wedding of my husbands niece on June 23rd, 2012. It was the first wedding cake I had done for someone I know personally, which means more pressure than usual.
When we sat down for our consultation, she explained that she liked the ruffle style for her cake, but wanted them to look a certain way. I did a practice six inch cake, and it did not go so well. The ruffles were too thick and the lines too even and perfect for what she had in mind. I told her that I would do my best on the day of the wedding.
Ruffles from Fondant
Turns out, I got it exactly how she had pictured it! To do this, I rolled the fondant strips out as thin as possible, almost transparent, and I left the edges rigid and uneven, and used a ball tool to get the ruffle effect. Once they were ruffled, I applied each of them one by one to the cake which I had already covered in fondant.
Gumpaste Peony
The peony is made from gumpaste and dusted with peach luster dust. The cake flavor was pound cake with white chocolate cream cheese, apricot and Bavarian cream filling.
Return to Wedding Cake Contest.
This article was printed from Wedding-Cakes-For-You.com
Step-by-Step Book

Video Guides


Order a Cake
"Lorelie is simply the CAKE FAIRY!!!!! and her heart is as big as her cakes are delicious and gorgeous. People are still talking about our cake almost three years later".
~Maceo & Corina~ New York City
Complimentary
For my Visitors and Subscribers


